This post may contain affiliate links. As an Amazon Associate we earn from qualifying purchases.
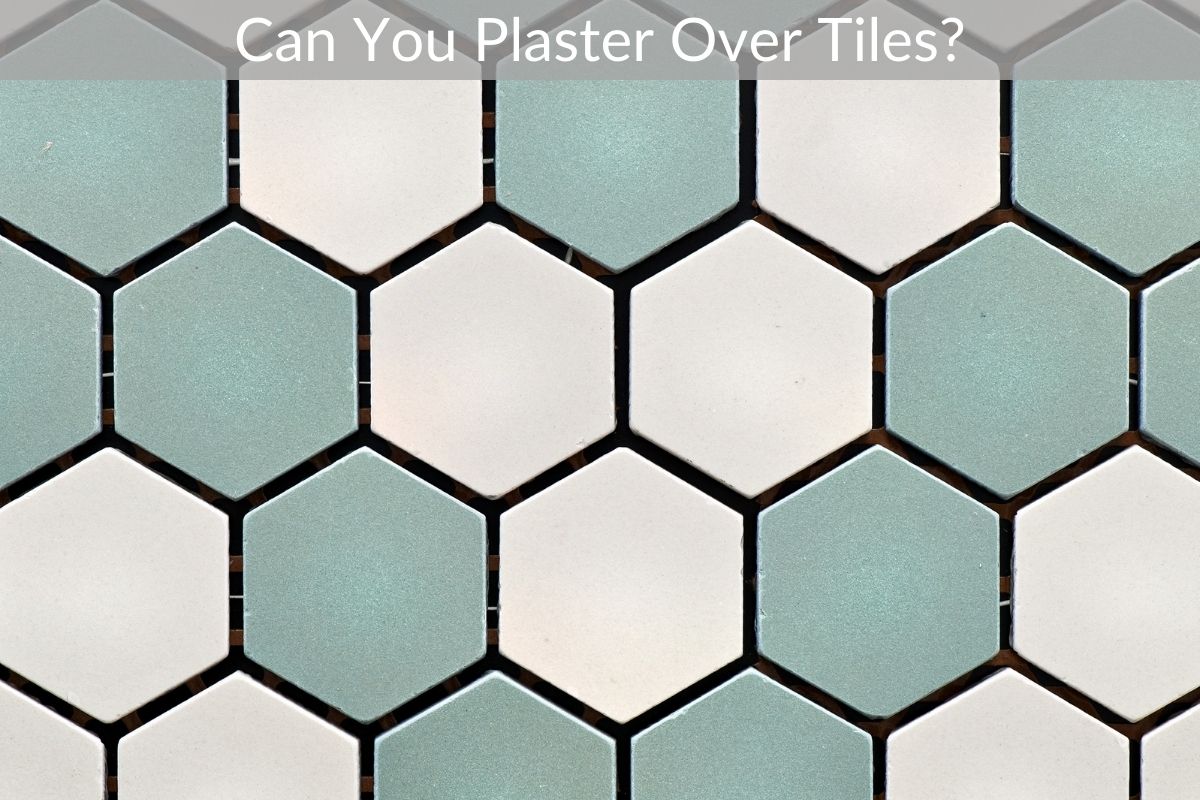
One common question is: can you plaster over tiles? Plastering over a tiled surface can prevent the need to drill into it. It is best to avoid drilling into tiles and plaster attached to them, as this can result in extreme cracks.
Before you start, you should first remove the tiles, as this is a relatively simple process. It will help you to avoid future problems. Continue reading to learn how to prepare your walls for tiling.
How to prepare a wall for tiling
Regardless of your skill level, there are basic steps that you need to take to properly prepare a wall for tiling. These steps are important for ensuring that the wall is level and free of dust and grease before applying the tiles. You should also ensure that the wall is clean and dry before applying the tiles. After removing the old wallpaper or loose plaster, you need to clean and level the wall before tiling it.
The next step in tiling your wall is to create the necessary joints between the tiles. These joints will prevent the tiles from separating during expansion and contraction. You should use the correct primer for each type of tile, as the wrong one may cause the substrate to shrink or move. The type of tiles you plan to install will also determine the amount of wall preparation you need to do. If you’re unsure how to prepare a wall for tiling, check with your local building department.
Once you have prepared your wall, it’s time to repair any damaged areas. If the drywall or backer board is damaged, use sandpaper to smooth it out. If you have any cracks or holes, you’ll need to patch these areas. Using a chalk line to mark the center of the wall is another good option. Afterwards, you can paint the wall to minimize cut-in work.
After you’ve prepared your wall, you need to lay the tiles. It is not recommended to install the tiles at ground level. In this case, adjust the wall first at the centre and leave the cuts for the edges. Next, you need to choose an adhesive. Different materials require different adhesives. You can also use adhesives for tiles. The correct adhesive can help you install your tiles properly. It’s very important to choose the right adhesive for your wall tiling project.
You can use plasterboards to help protect your walls from the effects of water. However, if you’re planning on tiling your walls, it’s important to ensure the wall is smooth and dry. If you want to tile, you must make sure you’ve done a thorough preparation job before you begin tiling. For the best results, make sure you use a high-quality acrylic primer that is made especially for this purpose.
Preparation of a wall for tiling
Before you start tiling your wall, you must properly prepare the surface. Often, improper preparation leads to falling tiles. Fortunately, the process is not difficult. Depending on the type of tile you use, the preparation for your wall will vary from one tile to another. Follow the instructions on the manufacturer’s website to achieve the best results. However, you must avoid shortcuts because these can lead to problems with the tiles.
Before starting tiling, you must ensure that the drywall and backer board have a smooth surface. You can smooth out bumps with sandpaper or a flat piece of timber. If the surface is uneven, the adhesive may lose grip or the tile may crack when it is placed. For uneven walls, a thick layer of adhesive may fail to hold the weight of tiles. In such a situation, the proper preparation is necessary. Fresh plaster may take up to 30 days to dry. On wooden surfaces, polyurethane paint is recommended to avoid any problems.
To prepare a wall for tiling, measure the width and height of the room where you plan to tile. Mark this with a level. Once you have determined the height and width of your wall, you can lay out the grid. Remember to leave enough space for the grout joints. If the space between the tiles is less than a third of the wall’s height and width, you should cut half-tiles instead of whole ones.
Before tiling, you should carefully remove old tiles and apply adhesive. Most tiles are too smooth for the adhesive to adhere properly. A chisel and hammer are useful tools to rough up a tiled wall. If the surface is too smooth, you can use a grinding disk to create arbitrary lines. When you’re ready for tiling, you don’t need to tape the joints.
If you want to tile the wall of a bathroom, it’s best to do it after you’ve removed any previous wallpaper. Avoid using plywood because it’s prone to damage from temperature changes. Also, it’s not recommended to tile over a wallpaper that has a raw textured or shiny finish. It’s also important to make sure that the wallpaper is clean and moisture-free before you apply adhesive.
Testing the wall for durability before tiling
Whether or not a tiled wall will support the tiled surface depends on how complex the tile is. The support members must be made of wood or metal, and the faces must be shaped to conform to the profile of the tiles. These supports must be no higher than the tile profile. The support members must be backed up by steel bearing plates. If the support members are not made of wood or metal, they should be.
When selecting a tile, test the wall’s durability before applying the tile. It’s important to ensure the wall’s durability before tiling, since the tiles are going to be dragged across it in daily use. If you’re not sure, try a sample and see how it fared. If it chips, dent, or scratches, it’s time to choose another tile.
When selecting ceramic tiles, consider the expected load bearing capacity and the installation. In addition to durability, consider the color and style of tiles. If you’re looking for a neutral color, select a tile with an even color. A darker tile might be more appealing, but a lighter color can also make the room appear brighter. Choosing the right tile also depends on how well it matches the rest of the room’s decor.
Types of tile adhesive
Before you start laying your new tiles, it’s important to choose the correct tile adhesive. There are two types: unmodified and modified. Unmodified tile adhesives contain cement and sand, which are both water-retaining agents. Modified tile adhesives are made from liquid latex polymers, which are designed for use on floors and walls, as well as in areas prone to moisture. Both types can be used on a variety of surfaces, from ceramic tiles to masonry walls.
Several types of tile adhesive are available for various applications. For wall tile adhesive, a white or light-coloured polymer modified mortar is recommended. Some wall tile adhesives are also self-priming. However, before you start applying the adhesive, make sure that you follow the installation instructions carefully. This is because the type of tile adhesive you select may affect the outcome of your finished plaster job. You should also be aware of the drying time before applying it.
A thin coat of PVA glue can be applied to the adhesive and plastered over it. Before applying the tile adhesive, make sure that the plasterboard is prepared and is ready for the tiles. If the tiles have deep ridges, you may want to do back buttering, which involves applying adhesive to the back of the tiles and the wall. Tiling is best done in small sections, preventing excessive adhesive from drying out. Once the plaster is dry, you should clean excess adhesive with a damp cloth.
Before applying any type of tile adhesive, you must prime the walls. You can apply an acrylic-based primer using a large roller or brush. You should allow it to dry completely before tiling. You can reinforce joints and corners with joining tape. If you want to skip this step, you can opt for ready-mixed tile adhesive, which does not require priming. While a powdered adhesive is not primed, you must follow this step for a good bond between the tiles and the wall.
If you’re doing the job yourself, you should be aware of the different types of tile adhesive. You should choose the type of tile adhesive based on the type of tiles that you’re installing. Pre-mixed adhesives, instant grab adhesives, and non-slip adhesives are recommended. However, if you’re planning on tiling over existing tiles, you should opt for pre-mixed adhesives.