This post may contain affiliate links. As an Amazon Associate we earn from qualifying purchases.
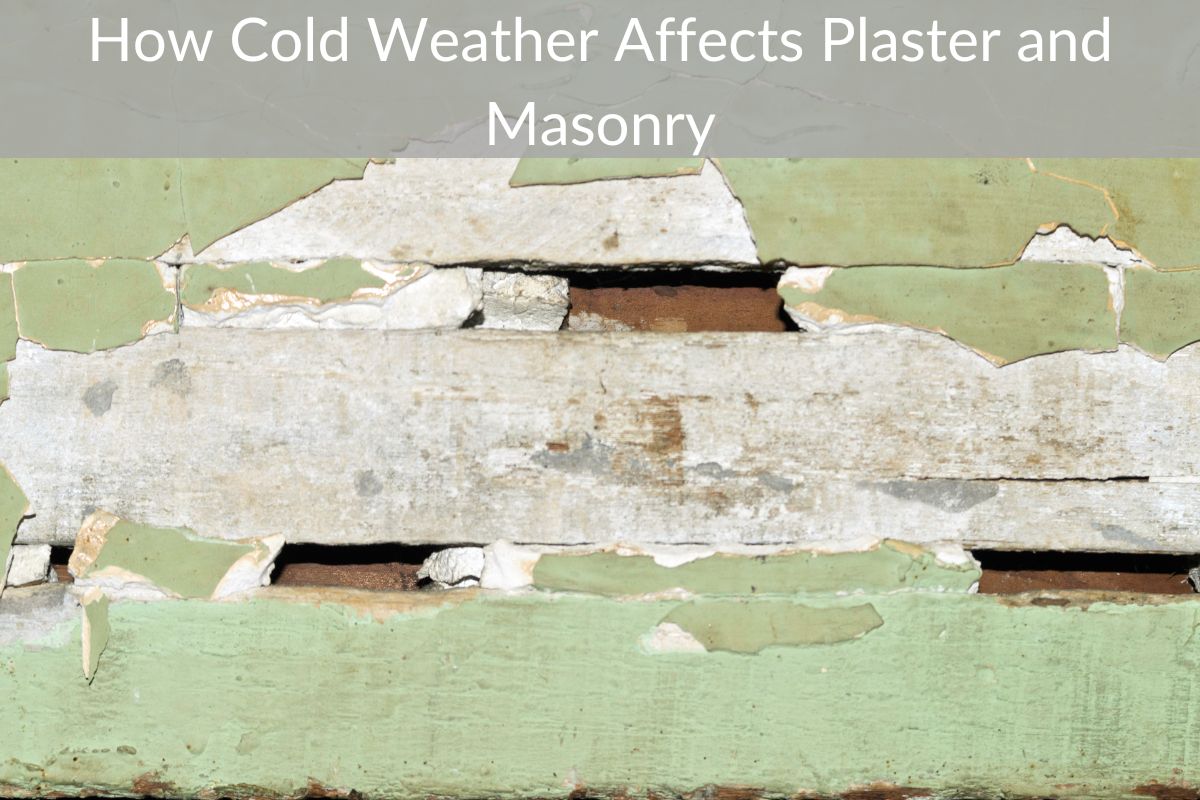
The following article will provide information about how cold weather affects plaster and masonry. The information will also address Hairline cracks in plaster, Frost heaving, and Mist coats.
Listed below are the most common reasons that cause plaster to crack. Listed below are some things you should do if you notice hairline cracks in plaster. These can be the result of poor maintenance. You can avoid these problems by avoiding these causes and using appropriate maintenance techniques.
Hairline cracks in plaster
The cost of plastering your house can range from $200 to $1,200. If you suspect that the plaster in your home is cracked, the first step is to inspect the cracks for damage. These cracks are a warning that your house’s foundation may be at risk. If the crack is new, you can consider checking the basement or crawl space. If you notice any cracks, you may want to consider caulking the area. Acrylic latex caulk can be used to fill cracks in plaster.
Cracks in plaster can occur for many reasons. The temperature, the type of plaster, or the amount of timber in the house can all contribute to this condition. Older walls, for example, may not have been skimmed or taped prior to being plastered, and old browning may have come away from the brick work. Whether it is a building’s age or the effects of changing temperature, the plaster cracks will be visible.
When it comes to the cause of these cracks, the most common factor is movement of the building material. Architects, engineers, and builders expect this natural movement of materials in buildings. The movement of these materials causes hairline cracks in plaster, which are usually easy to repair. However, the age and type of plaster can also affect the possibility of hairline cracks. Cold weather shrinks and warm weather expands, and the changes in temperature can lead to hairline cracks in plaster.
A major crack can be difficult to fix, and it may require structural engineers. If the cracks are only hairline in size, however, it is possible to repair them yourself. You can score the wall around the crack to provide a greater surface area for the jointing compound to adhere to. It is also important to apply the jointing compound in thin layers, as this ensures a smooth finish. It is also possible to use wallpaper made for restoring wall surfaces.
Drying shrinkage
Plaster can crack for a number of reasons. Drying shrinkage, changes in temperature and climate change, as well as structural disturbances can all result in plaster cracks. Over-trowelling and excessive moisture loss in the mix can also cause cracks. Internal structural timber can also contribute to the problem. Cracks in plaster can also result from moisture loss. Fortunately, repairing plaster cracks is a relatively easy process if you follow these few guidelines.
First, you should know that plaster will shrink. Dry shrinkage is the natural process that occurs after plaster hardens. When the cold weather hits, the plaster shrinks and cracks. However, you can repair these cracks by filling the cracks with a crack-repair mortar or by painting over the whole area. Drying shrinkage can also result from differential movement of the brick wall or roof slab and are caused by dryness. They often appear in steep diagonal lines.
Once you’ve repaired your plaster cracks, it’s time to prime your wall. Before you apply paint or primer, make sure to remove all loose plaster first. Afterwards, you can use a sandable Durabond compound for perfect crack repairs. Once your plaster is properly primed, you can begin painting or priming. And, if the weather is cold, the plaster may crack even more.
Another cause of plaster cracking in cold weather is dry air. Cold, dry air absorbs warm moisture from the wall and causes cracks in plaster. Low temperatures also cause cement plaster to take longer to set, delaying troweling and floating. In turn, this increases the labor costs involved in the process. Furthermore, frozen walls tend to develop excessive porosity and efflorescence, which can lead to further deterioration in freeze-thaw cycles. If you can’t avoid freezing temperatures, you should take some precautionary measures. You can use enclosing the structure or consider heating it.
Frost heaving
If you’ve ever noticed that your walls or floor are cracked, you might have experienced frost heaving. This phenomenon occurs when the soil under a building has too much water content and is too frozen to remain stable. In severe cases, frost heaving can cause buildings to heave up to a couple of inches. It can also cause sticking doors and windows. If you find any of these signs, contact a professional building contractor right away to prevent any further damage.
One of the best ways to check whether your house is at risk of subsidence or heaving is to inspect your attic floor. Older houses may have minimal attic floor framing and the occupants have likely stepped on the framing members. This can lead to the framing bending and bowing, which can cause material stresses and plasterboard cracks. The most likely places to notice the cracks in your plasterwork are over the area where the framing variation is most prominent.
Once the problem area has been identified, it’s time to address the water source. Water from the ground should be directed away from the affected area. Storm water runoff from the roof should be directed to a safe location such as a dry well or swales. Alternatively, rainwater collection barrels can be used to divert the water from the roof. These are a few of the ways to fix frost heave.
Properly compacted soil can prevent frost heave. In addition to this, proper drainage helps keep water away from the building. Having proper drainage around the foundation also reduces the risk of a basement. A slab on grade is not at greater risk of frost heaving than a basement, so long as it’s built properly. A properly built foundation is also called a Frost Protected Shallow Foundation.
Mist coats
If you’re worried that your mist coat will crack in cold weather, it’s time to change it! Cold weather causes plaster to crack, so don’t use a mist coat on your walls! A mist coat is simply a thin coating of paint that is applied to the wall surface. The paint is not a solid coating, but rather a liquid mixture that is absorbed by the plaster and bonds to it. If you have any peeling paint, scrape it off and make sure that the surface is clean and sanded. A mist coat is a thin layer of paint that bonds to the plaster and binds with it, and you’ll want to apply two to three in small pieces, as they will not work well in cold weather.
The correct ratio of paint to water is crucial when applying a mist coat, and you should always test the consistency of the mist before painting. The mist should be thin enough to see through the plaster, but not so thin that it becomes too thick. If it’s too thick, it won’t absorb into the plaster and leave a damp wall. A mist coat should also be applied at room temperature, not at night or in the cold weather, because the paint will harden before it dries.
A mist coat can help prevent the plaster from cracking in cold weather by providing a uniform finish and preventing it from drying too quickly. However, a mist coat should not be used with PVA glue, which is incompatible with plaster. This glue does not penetrate the plaster, so there is no bonding between the paint and the plaster. This means that the paint may flake off.
Recurring cracks
A number of factors may contribute to the development of recurring cracks in plaster. Cold weather can cause a crack to develop in a number of places, from the outside to the inside of the house. These cracks may be caused by changes in the temperature, as the timber in the house expands and contracts with change in temperature. They may also be the result of old walls that weren’t skimmed before being plastered. Another possible cause is a solid wall that has cracked away from the brick work.
The first step in repairing a crack is to locate the crack. If it’s large, it will require undercutting. Remove any loose plaster and mix the new plaster. Fill the hole with a thick layer of the new material. If the patch is too small, it will not form a solid bond with the surrounding plaster. Alternatively, you can try applying the patching material first. A patching material of a buttery consistency should be used. It should be damp enough to reach the full depth of the crack. Once dry, a priming and painting process can follow.
Another common way to repair plaster is to use screws to reattach the wood lath underneath. Tom Silva, a general contractor at This Old House, normally fixes wood lath with screws and metal washers. But he recently tested a new method he calls Big Wally’s Plaster Magic. This new method uses glue instead of screws and washers and is easier to finish. It also looks better than a screwed connection.