This post may contain affiliate links. As an Amazon Associate we earn from qualifying purchases.
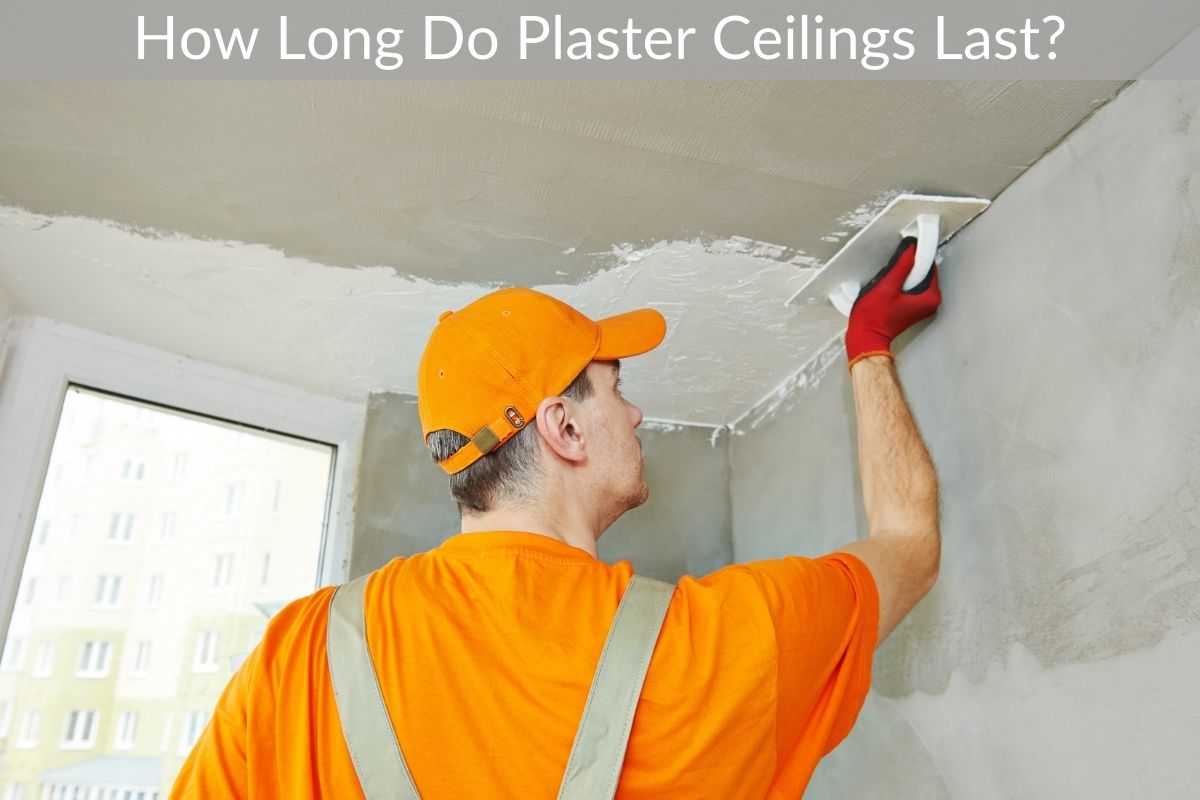
How long do plaster ceilings last? This article will cover some common problems that you may face, including overloading and structural movement. We’ll also discuss the importance of applying an accelerant to hasten the plaster-setting process.
Accelerant is normally added during the coldest days and small jobs. Listed below are some important factors to consider when repairing a plaster ceiling. If you experience any of these issues, be sure to seek professional help as soon as possible.
Lath and plaster ceilings
The first step to make a Lath and Plaster ceiling is to prepare the ceiling and walls. Lath and plaster are both highly porous and will eventually need to be primed or painted. A thin coat of plaster on the ceiling will help it last longer. A second coat will be needed to fill in any voids. This work can be done at home centers and hardware stores. The materials for this project include drywall board, plaster and joint compound.
Modern properties often have skimmed or plasterboarded ceilings. These types of ceilings do not react well to vibration, but lath and plaster ceilings are susceptible to vibrations. Because plaster is brittle, it will crack at its weakest point under stress. The nibs that hold the laths in place can also break off, which could lead to a collapse. In such a case, it would be a good idea to get a plasterboard ceiling if you can.
Getting up on a ladder is a good idea when assessing the condition of your lath and plaster ceiling. Make sure you get a ladder that is safe to use and is tall enough to reach the ceiling. This will give you the best vantage point. Next, take a slow sweep of the ceiling to see if any of the layers have separated from each other. Look for uneven points, cracks, or sagging plaster. Repeat this procedure in the other corners of the room.
While traditional lath and plaster are the best option for creating ornamental shapes, drywall is not flexible enough to create tight radii. This is why wire mesh is often used on exterior walls, as well as in combination with lath and plaster. Both methods serve the same purpose. National Park Service Preservation Brief No. 21 provides an in-depth description of lath and plaster construction and offers advice on repairing and restoring historic buildings.
Repairing a damaged ceiling
Taking the time to carefully assess the damage to a plaster ceiling is essential if you want to restore it to its original condition. In this article, we will discuss the process and materials needed for repairing the damaged ceiling. First, we will look at how to repair a small crack or hole in a plaster ceiling. The technique varies depending on the size and shape of the hole. A flexible joint knife can be used to apply the joint compound. The compound should be spread evenly with a 1/4-inch layer of mud. Wet the surface with a damp sponge before applying the mud.
First, we must remove the old plaster. In some cases, the plaster is too damaged to repair with simple drywall screws. In this case, we need to cut away the plaster to reveal the joists beneath the ceiling. Once the ceiling joists are exposed, we can start the repair. We should make sure to secure the patch with 1-5/8-inch drywall screws. If the ceiling is still sagging, we should remove the entire plaster first and then replace it with new drywall.
Besides removing the old plaster, we should also clean the repaired area properly. Water-damaged ceilings must be patched to match the rest of the ceiling. Using a shellac-based primer will prevent water stains from spreading onto the new patch. If the repair is small, joint compound will do the trick. For more severe damages, we will need to cut and install new drywall sheets.
Overloading and structural movement
Old plaster ceilings often develop cracks and craters from structural movement. Old plaster may not have been properly reinforced, or the laths are too close together. Over time, the plaster can lose its key and separate from the lath. Cracks in plaster ceilings may also be caused by heavy loads placed above them in storage areas. Similarly, errors in initial building construction can also cause the surface to crack.
Cracks or bowed surfaces are signs of damp problems. They can occur in old plaster ceilings, which may be caused by sagging floors or bowed ceilings. Cracked plaster may sound hollow when tapped. If these are present, you should investigate the cause. Cracks can be caused by a number of different reasons, including heavy furniture and weight in the loft. Luckily, there are several simple fixes that can be undertaken to restore your ceiling.
Cracked ceilings and walls: Although cracks in wall plaster are not usually a sign of structural damage, they do indicate the need for repair. For instance, cracks in a step pattern above doorways can indicate a more serious problem. Additionally, cracks are more likely to develop in conjunction with uneven floors and sagging ceilings. It is therefore important to take immediate action if you notice cracks.
A vertical crack in a plaster ceiling may be an indicator of structural movement. Cracks may also occur if the ceiling is placed on a floor that doesn’t allow for enough room for movement. For example, in a modern building, significant cracks appeared in the first floor. The ground floor room was a large open space, but the first floor was divided into at least three separate areas. These areas were separated by blockwork. One area contained a boiler with a hot water cylinder, while another area held the cold water storage tank. These differences in load distribution caused significant floor movement.
Propane heaters
Propane heaters can damage plaster ceilings because of the carbon buildup they produce. Carbon deposits are caused by the propane burn and can coat the heater’s thermocouple. You can remove carbon buildup with sandpaper. If you cannot remove carbon buildup with sandpaper, check the gas valve orifice. Corrosion may block the orifice, so you can clean it or replace it. Another way to clean a propane heater is to remove the carbon from the burner assembly.
Propane heaters can be used in patios or covered areas. Propane tanks are relatively long-lasting and should be replaced every decade. Check propane tanks for leaks once a year. Propane heaters are great for outdoor use because they are portable and do not require a chimney. The only downside is the high price of propane, so make sure you check them before you start a project.
Another drawback to propane heaters is the exhaust, which dumps excessive moisture into the interior atmosphere. Propane heaters are not recommended for air conditioning in homes. Propane heaters release carbon monoxide, a toxic gas that can damage the living space and cause harm to anyone in the room. Propane heaters should be used outdoors or vented naturally. The fumes from propane heaters are harmless in small concentrations, and most people will not notice it.
A 20-pound propane tank can power a patio heater for a period of seven to ten hours. The duration of a propane tank depends on the BTU capacity of the heater. Propane heaters run on propane, and the BTU capacity of each tank can vary from four to seven thousand. Propane tanks are recommended for patio heaters, but a large patio heater will require a larger tank.
One-coat patching
You may be wondering: “How long do plaster ceilings last after one-coat patching?” This question has many answers, but the answer will depend on the circumstances. Small holes with lost brown coats usually require two applications of plaster. The first coat is troweled into the hole, scraped back below the lath, and then more plaster is applied to the smooth surface. Plasterers generally recommend against one-coat patching as it can result in a concave surface. However, in the case of a single-coat lath, this approach may be appropriate.
First, you must remove any mildew or stains. If the water stain is too deep to be removed, you should apply a shellac-based primer. Second, check the hole and determine whether there are any other damages. In some cases, a chunk of plaster has fallen off the ceiling. Another scenario could be that an electrician cut a hole in the ceiling. If the hole is in good shape, the patching should be able to fill in the hole.
Third, ensure that the room is properly ventilated. Do not turn the heating up to full-blast since this can speed up the drying process. Turning up the heat too quickly will cause the plaster to crack. Third, dehumidifiers can reduce the amount of moisture in the freshly plastered room and speed up the drying process. However, too much moisture can lead to the plaster drying too quickly. Medium-sized dehumidifiers are best for the slow drying process.
Once the patched area is thoroughly dry, you can paint it. However, if you do not wait for the plaster to dry completely, the paint could start to flake and peel. This can cause damp problems later on, so you must check it thoroughly for flaking or dark patches. You can also use a mist coat. If you have a fresh plaster ceiling, you should choose a light-coloured emulsion.