This post may contain affiliate links. As an Amazon Associate we earn from qualifying purchases.
When redoing your walls walls, how long do you wait between coats of drywall plaster? First, make sure the previous coat of plaster is dry. After that, work your way up the wall from left to right and then bottom to top.
This ensures that your plaster is evenly spread and has plenty of time to dry. This is also the best way to avoid Efflorescence, which is caused by moisture in the wall.
Mist coats
Before you begin painting your new wall, you should prepare your surface for the mist coat. The mist coat is basically paint that has been watered down and is meant to be applied over a fresh layer of plaster. Unlike a standard paint coat, this type of finish can run, and so it is important to follow the instructions on the tin. Applying a mist coat is much easier than painting a standard coat of plaster, but it is not foolproof. Regardless of its effectiveness, you’ll need to make sure you have ample time to prepare it for paint.
Prepare your wall surface by cleaning it thoroughly and then applying the mist coat. To create a mist coat, mix one part paint and one part water. It’s best to use a paint that is one part water to three parts paint. Follow the instructions on the paint canister for mixing the right ratio. You can apply the mist coat using a paintbrush, or use a 9-inch medium pile roller to cover the entire wall. While applying the mist coat, use care, as it will drip a lot.
After applying the first mist coat, you can begin painting your new wall. Using a light-coloured emulsion is best. The paint will not absorb the mist coat if it’s too thick, so it’s important to use a thinner mist coat first. You can also test the consistency of a spray on a small patch of plaster before applying it to the whole surface. The consistency should be similar to a single layer of paint. You may need to adjust the application of the mist coat as necessary.
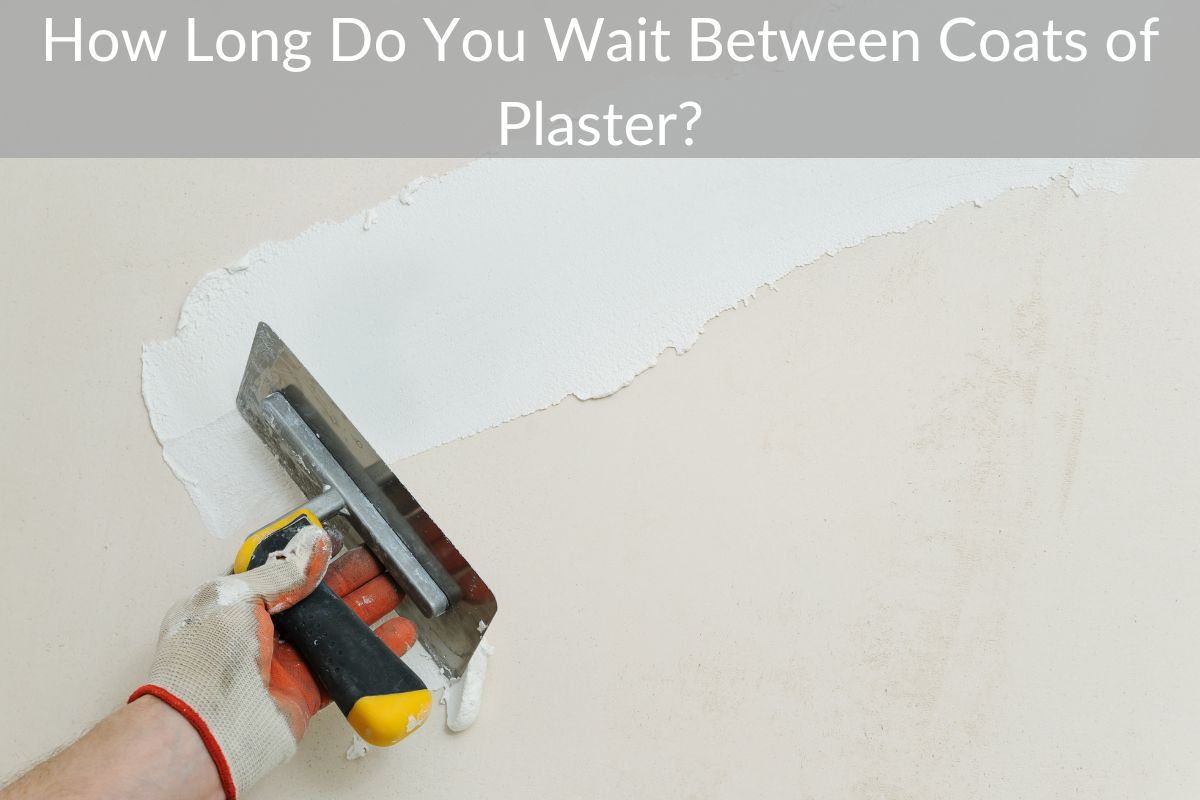
Flattening off first coat of plaster
After applying the first coat, you can begin troweling the second. This requires more pressure than the first coat, so don’t be afraid to use a sharp knife or edge of a small pointing trowel to trim the excess plaster. This will result in a flat surface that will look almost perfect! Don’t worry if you’ve made gouges in the plaster; ridges and holes will be easily filled with the next step!
You should start plastering from the left corner of a wall and work your way up. Use your trowel to load the plaster at an angle, with the leading edge away from the wall. Then, move the trowel across the wall, flattening it to the wall as you go. Try to avoid any bulges in the plaster, as these will come out in the final finish. Just remember that the first coat needs to be flat and without ridges – otherwise, the plaster will become uneven and unappealing.
Once you’ve finished troweling, the next step is to flatten off the first coat of plaster. To do this, you should wet the wall with water and hold the plaster trowel at an angle to the wall. Ensure the plaster is evenly spread and that it doesn’t drag off the surface. It’s important to remember that plaster takes a little practice to become perfect. After applying the first coat, it will be ready for the second and third coats.
Painting new plaster after it has dried
If you’re looking to paint a newly plastered wall, the first step is to prepare the surface. The best way to prepare a new plaster wall is to apply primer before applying the paint. A primer will make the surface dust-free, breathable, and non-porous. It also improves the bond of paint with the surface. After priming, you can paint the plaster wall with a standard emulsion.
After the plaster has dried, you can apply a mist coat of paint to the surface. The mist coat is a watered-down base coat. It penetrates into the open pores of the plaster and bonds to the surface. The next step is to prime the new plaster with a white emulsion. This primer should be watered down 10% before applying the final coat. You should also apply masking tape to the edges of the surface. A mist coat will be thinner than a standard one, so it will run.
If you’re painting a bathroom or kitchen, you’ll need to wait a few days before applying a fresh coat of paint. This can take up to seven days. Then, check if the first coat is dry. If there are no dark patches, the plaster is completely dry. After the first coat is applied, the new plaster will turn a dark brown color. After two days, the colour will be lighter. The waiting time depends on the material of the wall and the ventilation.
Efflorescence
The best way to avoid cracks in plaster is to apply a second coat as soon as the first one has dried. Cracks can be caused by shrinking as the plaster dries, weather erosion, thermal expansion, and other factors. This is a common problem that can be avoided by waiting as long as possible between coats. But in some cases, two coats will be necessary for a perfect finish.
First, plaster should be damp for about fifteen to thirty minutes. This allows the first coat to set in without dragging. It should be sufficiently firm for the second coat to adhere without dragging. In a standard size room, a plasterer should be able to skim all the walls before applying the second coat. This second coat should be applied twenty to thirty minutes after the first one. It depends on the weather conditions and the speed at which the plaster was applied.
When plastering walls, you should allow the first coat to dry before applying the next. If the first coat hasn’t fully cured, it will take up to two weeks to dry. If you’re applying two or three layers, you should wait for between 14 and twenty-one days between each layer. However, if you’re plastering a damp property, it’s better to wait at least two weeks before applying another one.
Using a hawk board
The hawk board is a great tool for waiting between coats of plaster. The hawk board is an easy way to hold a trowel to apply plaster. Hold the trowel at a 45o angle and sweep the plaster upward. After each stroke, flatten the hawk board to apply plaster evenly. The plaster should be one-cm thick. Once the hawk board is dry, you can apply the next coat.
Plaster is very soupy, especially the darker colors. Use up to 4 quarts of tint per five-gallon bucket. It takes time to settle and thicken, so work quickly. The hawk board allows the plaster to air dry more rapidly. In addition, it’s less messy. If you don’t have a hawk board, you can use a paint roller.
Plastering a wall is a skilled job and usually left to a professional. While plastering is not easy, you can do it yourself if you know what you’re doing. The first step is to buy a quality trowel, like one made from stainless steel. You can buy a plastic or foam hawk board to make the job easier. If you’re not a professional, you can use a small plastic hawk board for the first coat.
Another important tip to remember when plastering is to use a mist coat, or thin paint. The mist coat is a paint-water mixture that aims to let the plaster absorb water. The more water a plaster absorbs, the less it is absorbent, making it easier to lay a base coat of paint on it. After a few days or weeks, the bubbles will settle out.
Using a float
Plasterers use a float between coats to flatten the surface and smooth out fissures. Plasterers apply even pressure to the float while moving it in a figure-eight or circular motion. They push high points into troughs and also use the float to fill small holes. For best results, plasterers use two types of floats: a rubber one and a plastic one.
The float coat is a thin layer of plaster applied to the surface. It is normally two to three mm thick. The finish coat is applied in two wet-on-wet coats, followed by a light steel trowel. The float coat is then slightly dampened with water. The surface is then open for paint by passing a semi-dry brush over the surface. Once the second coat is dry, the float coat is applied again.
Plasterers use different types of plaster floats. A plastic float works well for all kinds of surfaces, while a wooden float gives a rougher finish. A wooden float helps the top layer of plaster to grip it better. A damp sponge float is also useful for walls that dry out too quickly. When using a float between coats of plaster, allow the plaster to set. If the plaster is still too soft, the float will make a slight dent in the plaster.
After applying the first coat of plaster, you can proceed with the last. Plastering is a very technical process and is best left to a professional. However, if you are confident enough and have the knowledge to do it, you can apply the plaster yourself. Start by applying a layer of thick plaster with a trowel and smooth it with a handheld float. After completing the last coat, you are ready to apply wallpaper or paint.