This post may contain affiliate links. As an Amazon Associate we earn from qualifying purchases.
How do you know what consistency your plaster should be? This article will go over the ratio of water to plaster and how to test its consistency. You’ll also find out how to mix gypsum plaster by hand and use a blister brush for smoothing it.
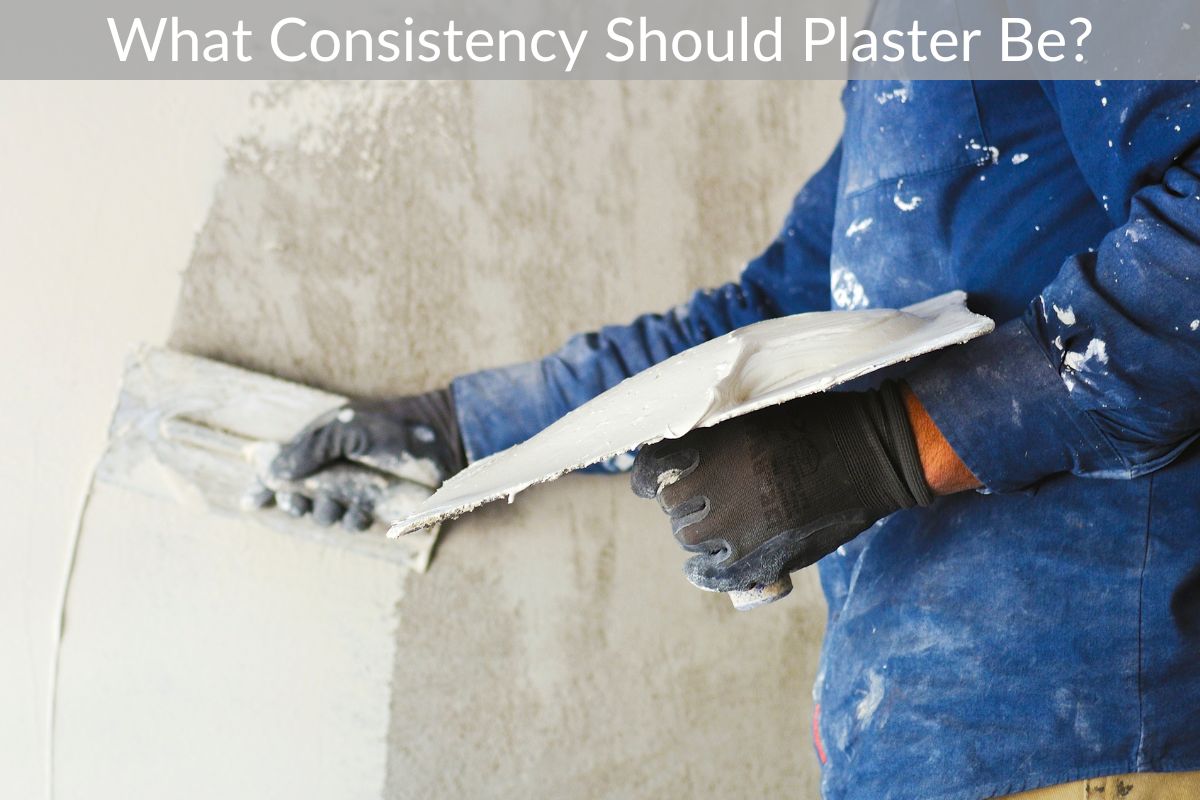
If you’re unsure of what consistency your plaster should be, read on. If you’re not confident in your plastering skills, consider getting a professional to do it for you.
Water-to-plaster ratio
To make your plaster mix, weigh the plaster, gypsum, and water, and use a scale to estimate the volume. Then, divide the volume of plaster by 231 cubic inches to get gallons or quarts, and subtract 20% to account for the water. Using a scale or a measuring cup, carefully pour the water over the plaster and sift it to combine. It should be mixed for about 3 minutes.
The water-to-plaster ratio is a key factor in the strength and absorptive capacity of Plaster of Paris. The proportion of water to plaster is directly related to the final product. When a product is manufactured, it must pass several tests before it is certified as good-quality. The ratio of water to plaster must be 67 parts water to 100 parts plaster. In addition to the density and strength test, the test results must be within acceptable limits.
The proper water-to-plaster ratio will make the plaster hard and absorbent. If you have a small scale or are mixing the plaster for the first time, a half-kg of plaster should be sufficient. Practice is essential to achieve the right consistency. Mix the plaster in small batches and observe how it sets. It is important to know when to pour and shape the finished product. There are many variables that affect the finished product.
When mixing plaster, you should always measure the amount of water to plaster and use the Plaster Calculator. Plaster’s consistency is expressed as the ratio of water to plaster, and affects the hardness of the plaster. The higher the water-to-plaster ratio, the higher the amount of water in the mix. The lower the water-to-plaster ratio, the thicker the plaster and the softer it will be.
Mixing plaster is not easy and messy, so make sure you do it inside a bucket. Do not pour plaster down the drain. The water will clog up the pipes, which could cause a blockage. This could lead to an expensive plumber visit. To avoid such a problem, it is best to use a large bucket for the plaster. When mixing plaster, use paper towels or waste paper to wipe any excess plaster from the floor or walls.
Test for plaster consistency
The consistency of a plaster mix is a critical factor in determining how long it takes to set, as well as its hardness and compressive strength. These two properties are closely related to the life of the plaster and resistance to breakage. Higher consistency numbers mean that more water must be added to achieve a specific consistency level. Higher water content reduces hardness and strength. A low consistency number is softer and set more slowly, but still has good homogeneity.
Mix the two ingredients in the same way. You will probably be able to tell if something is off balance when you’re mixing the first batch, but you’ll need to practice until you find the right balance. If the plaster is too thick, add a dash of water to adjust the consistency. In most cases, the consistency should be somewhere in between. For this purpose, the consistency of the plaster mixture should be between half-a-cup and one-half cup.
Adding stabilizers increases the strength of the mix. Cement, lime, or asphalt emulsion can be added. Test the mix until it resists spraying without eroding. Once the plaster has reached the desired consistency, it can be plastered. Horse hair or chopped straw may be added to the mix for added tensile strength. Add more water to reach the desired consistency. If it does not hold up to the spraying, you should try adding a little more stabilizer.
When it comes to plastering, soil testing is essential. If you’re mixing the soil on your own, you can scoop a handful of the soil into a mason jar and measure the consistency of the mix. This method is most effective if you’re a beginner. The ratio of the two components is important to ensure consistency and quality, and you can’t afford to use too much plaster. It can be difficult to keep the consistency of the plaster in the proper consistency.
When mixing plaster, add half of the mix at a time and mix until it is smooth and homogeneous. This method is recommended because if you delay mixing too long, you may end up with lumps. Moreover, mixing too early can lead to hardening, which can cause difficulty when trying to remove the plaster from the bucket. However, if you’re working on a project involving a plaster, be sure to follow the instructions carefully and test it thoroughly.
Mixing gypsum plaster by hand
Generally, you can mix gypsum plaster by hand. You will need a clean bucket. It is better to use a clean bucket for this task, because you can control the thickness of the mixture more easily. Mix half of a bag of finishing plaster and half of water in the bucket. The proportions of the two should be 50:50. Afterwards, stir the two ingredients until the mixture is smooth and creamy.
You should keep the mixing container clean, as the dust and dirt may affect the setting process. It is also important to clean the water used for mixing as contaminates in water can affect the setting process. Stirring the mix too much will mess up the crystals and weaken the plaster. Make sure to follow the recipe. The water content should be about 50 percent. Do not mix more than 1/3 water. Pour the mixture into a mould.
Using the correct proportion of water and plaster will ensure that the mixture will be creamy and opaque. You can easily determine the amount of water by measuring the plaster’s weight and the amount of water it requires. The higher the consistency number, the more water the plaster needs and the softer it will be. The gypsum crystals form tightly interlocking structures, and more water will push the crystals apart, weakening its structure.
You can use all kinds of tools to carve surfaces in the plaster. The plaster is easier to carve when it is in its semi-hard cheese stage. Once it has completely hardened, you can carve the surfaces by using a spatula. If the plaster is too thick, it will warm up considerably. When it is ready, you can start carving and apply finishing touches. Once the plaster has reached the cheese-like stage, you will notice it has the consistency of cheese.
When mixing gypsum plaster by hand, you may want to avoid using a drill to mix the materials. If you do this, you can easily clog up pipes with the mixture. Using a mortar mixer is also an option. It will help you achieve the perfect consistency and texture. The mix should be the right texture and thickness. Remember to label the batch with the correct date as the plaster has a shelf life of approximately four months. Otherwise, you will compromise the working time of your mix.
Using a blister brush for plaster smoothing
Using a blister brush for plaster smoothes out rough edges and smudges on your finished plaster. The bristles on the brush are stiff, so you can apply more pressure while applying the plaster than with a trowel. Ensure that you push the plaster in layers rather than scraping it, since scraping causes chatter and thinner areas on the final coat. Burnishing the finished plaster may require more than one pass, depending on how rough or smooth it needs to be.
Blister brushes are available in many different sizes and shapes. These can be purchased from Amazon. Blister brushes typically have felt pads that sponge up a surprising amount of water. These brushes are easy to clean and outlast most other plaster brushes. They’re perfect for plaster smoothing without leaving marks and are a great option if you don’t want to use blueboard. If you’re worried about using a blister brush, be sure to read the label on the product before purchasing.
The blister brush also helps to prevent sweatout. This is a problem that occurs when moisture and air circulation are too high. Using a blister brush for plaster smoothing helps to prevent this problem. While plastering, you can also use the same brush to pre-fill beads, reinforce corners, and smooth out small indentations and cracks. If you have too much plaster or too little water in the mix, you may be at risk for sweatout.
Another option for smoothing plaster is using a trowel. A trowel is a flat rectangular tool with a wooden handle mounted along the back. Trowels come in a range of sizes, but for the beginning plasterer, a four by 10-inch trowel will be just right. It’s similar to a trowel in feel and shape, but you may need to practice using it to master coordination.
Use a blister brush for plaster smoothing if your plaster is too thick. Plaster cracks if the coat is too thick, so always apply it in thin layers. You can also use a cheaper primer or an oil-based base coat instead of an acrylic one, which will reduce the chance of cracking. However, dust can be a problem when plaster is used on a large wall, so it’s best to use a blister brush if you need to re-burnish a small area.