This post may contain affiliate links. As an Amazon Associate we earn from qualifying purchases.
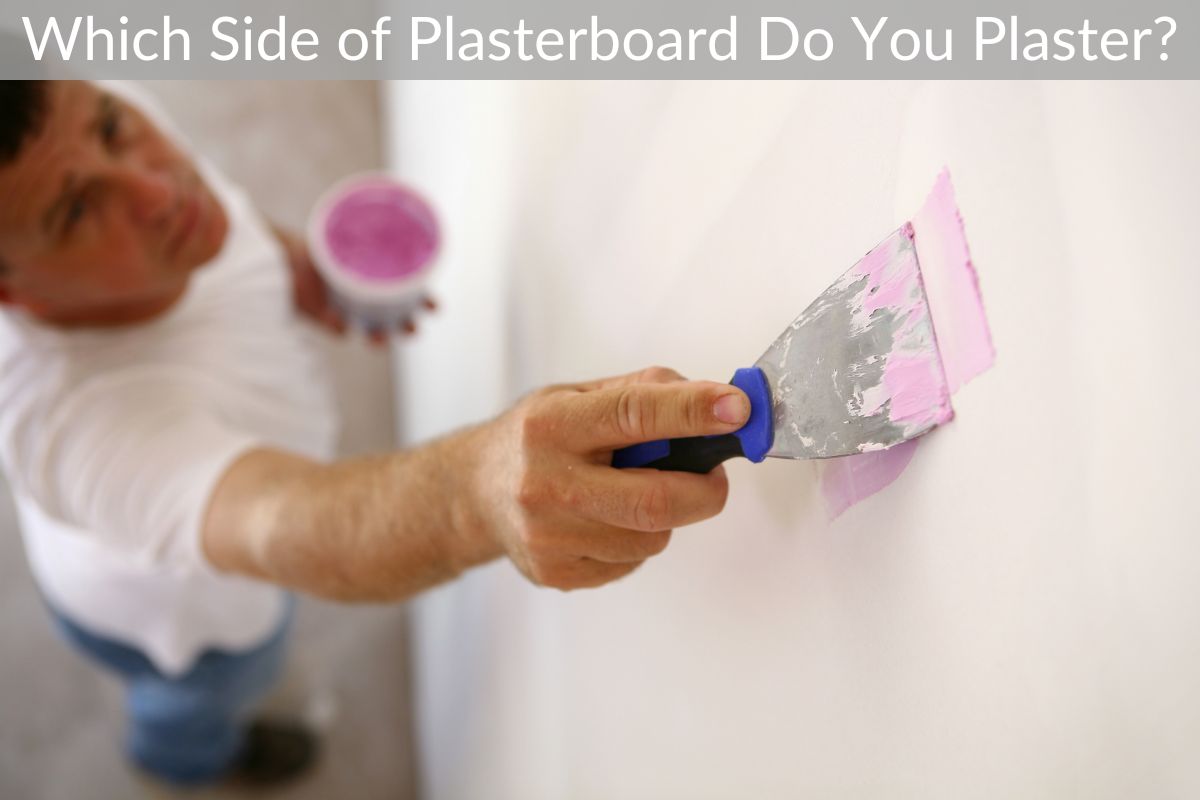
Which side of the board do you plaster? The brown side says that you plaster the other side. If you plaster the brown paper, you’ll have lumps in the finished product. To avoid lumps, flip the board over before plastering.
You might find that the board begins to seperate itself while plastering. In that case, it’s better to turn it over and plaster from the other side. This method has been proven to be very effective.
Dry lining
If you are a DIY enthusiast, you might consider trying your hand at dry lining of plasterboard. You can follow a few basic tips to make it easier. First, remember to get the required tools. A good electric saw and a pneumatic nail gun can make the job go faster. Using a jointing compound can be very useful, but it adds a bit of expense and requires more experience. For those who are just starting out, you may want to get a DIY kit.
For this type of dry lining, you will need a special moisture-resistant coating that can withstand the high levels of humidity found in the room. You may also need to hire specialist equipment, depending on the scope of your project. In addition, you’ll need to pay extra labour and special equipment. In addition to special equipment, dry lining can also be more expensive than traditional wall plastering. Therefore, you should do your research before hiring a dry lining contractor.
In addition to being aesthetically pleasing, dry lining also prevents damage caused by moisture. Dry lining can be particularly effective in old houses with solid walls. Condensation is a major cause of damp in older homes. You can combat this by employing simple ventilation methods. Dry lining of plasterboard, on the other hand, is a great way to protect your walls from condensation and improve their insulation properties. You can install dry lining by fixing timbers or putting insulation between battens, then decorating the plasterboard with dabs of plaster.
Dry lining of plasterboard can be attached to timber or metal frames using a screw fixing method. Screw fixings offer more stability and flexibility when applying the plasterboard. When you’re done, you can paint the surface. After the plasterboards have dried, you can paint it or apply a decorative finish to it. If you’d like to try a different style of dry lining, you can also hire a professional decorator or painter to make it look nice.
Plasterboard
Which side of plasterboard do you use when plastering a room? Most plasterers will tell you the white side of the board should be facing outwards. However, this is not always the case, and in some cases, the grey side is used. The white side should always be the plastering surface, and it is important to avoid grey plasterboard where possible. Here are some useful tips for choosing which side of plasterboard to use.
When sanding the surface, make sure to use a fine-grit sandpaper. If the surface is too rough, you should use a jointing knife. It will also help you repair uneven surfaces and stick-out fixings. Generally, standard plasterboard is easy to use and paint. You can find these handy tools online. This way, you can get the plaster you want without worrying about the quality.
If you want a smooth finish, the white side of plasterboard should be used. If you want to make the plasterboard joints appear smooth, you can use a jointing knife. In some cases, you can tile over painted plasterboard without having to remove the old plaster. This method is cheaper and more convenient than wet plaster. However, it is not without its disadvantages. You need to be patient and brave when fastening plasterboard to oddly shaped walls.
To make plastering easier, you can use a plasterboard screw gun. This tool allows you to screw plasterboard onto the wall without damaging the board itself. Unlike traditional nails, drywall screws are almost indestructible. During the plastering process, you should apply multiple thin coats of taping compound. After each coat, you should scrape off any irregularities or ridges. Make sure to leave at least four inches of space between the compound and the plasterboard.
A good tip for choosing plasterboard is to buy one that’s water repellent. Water-repellent plasterboards have a green face and are suitable for rooms with high humidity. They are suitable for dry lining, but you should still use them when plastering a room in a damp or humid environment. They will soak up moisture very quickly, so you should always use plasterboard with water-repellent properties when plastering in such areas.
Gypsum board
In a room where the walls need to be covered by drywall or tile, a gypsum board makes the perfect base. This type of board is waterproof, and comes with either a square or a tapered edge. It is commonly used in drywall partitions and as the face layer of ceilings. Its chemical properties are different from that of plasterboard, making it appropriate for different applications.
This board is made of gypsum, so it has a slick, smooth surface. The gypsum crystals on the paper side bond to the plaster facing. This method was first introduced in the 1910s, and soon thereafter the American military began glomming onto it. In less than a decade, half of all new homes were built with wallboard. But how did this material get its name?
Drywall, also known as sheetrock, consists of two paper faces that surround a gypsum core. Cutting through drywall would create a lot of dust. To avoid this, a sharp drywall knife is used to cut through the core. The drywall knife is relatively cheap, so a sharp blade can be bought at any hardware store. And a 4-foot drywall square helps ensure accuracy when crosscutting the drywall.
The water content of gypsum plasterboard makes it fire resistant. When exposed to fire, gypsum plasterboard will hold it in place for at least four hours. This is because the water in the gypsum offerings evaporates. When the board is exposed to fire, the water in the gypsum offerings will evaporate, which helps develop an extra layer of protection. This process is called calcination, and it makes the wall non-combustible for a few hours while it maintains a normal temperature.
Depending on the purpose of the plasterboard, its application, and how it is to be used, gypsum boards can be finished in different ways. For instance, if you want a smooth surface, you can lightly sand the joint compound and wipe it with a damp sponge. However, you should exercise caution and avoid raising the nap of the gypsum board facing paper. Finally, once the plasterboard has dried, you can paste a paper, vinyl, or specialty material on it. These materials are widely available, come in various colors, and are usually washable and abrasion resistant.
Lath
If you are planning on painting your plasterboard, the first thing you need to do is to prepare it by filling in any holes or joints. Using a jointing knife, you can also fix broken pieces or scuffed up plasterboard. Once the plaster is dry, you can then paint it. Standard plasterboard is suitable for painting. You can use it in the following ways:
The first step is to mix the plaster compound. It usually comes dry and needs to be mixed with water before it can be applied to the surface. You must always hold the trowel at an angle of 20 degrees when applying the plaster. You should start on the top left-hand side of the wall and work your way downwards. Once the plaster has set completely, you can apply a second coat to smooth out the surface.
You should also check the label of the plasterboard. It should say on the back which side is the “outside” of the board. Plastering on the outside will leave you with lumps in your wall. Therefore, the white side of the plasterboard should be facing the outside of the wall. If you are not sure, just call the plasterboard helpline and ask them to advise you on the correct side to plaster. The answer may surprise you.
Generally, plasterboard sheets are screwed to the wall. However, be careful not to screw the board onto the wall if you are not careful. It may pop off the screw or nail if it isn’t fixed correctly. You can also purchase an auto-feed screw-gun for plasterboard or a special drywall screw gun. Another option is to use an ordinary cordless drill fitted with a plasterboard bit. Those with a cordless drill can use a plasterboard bit with a depth stop.
The first step in plastering your wall is to prepare the surfaces. Laths are narrow strips of timber nailed across the ceiling joists or timber frame. Then you can plaster them using the same technique. A ‘key’ acts as a mechanical anchor for the plaster and secures the wall. A traditional method of plastering uses coarse animal hair as a reinforcing agent. This gives the plaster more flexibility and prevents it from cracking.