This post may contain affiliate links. As an Amazon Associate we earn from qualifying purchases.
You may be wondering if you should plaster before tiling. This article will help you decide whether you need to plaster first or not. It also covers the steps to follow before you start installing the new tile. You will also find helpful tips for choosing the right tile for your surface, as well as preparation.
Keep reading to find out more! After reading this article, you should be prepared to start installing tiles in no time.
If you should plaster before tiling
You may be wondering if you should plaster before tiling. Plaster is a common choice for walls, and is usually gypsum based. However, cement adhesive cannot bond with it. If they come together, they will undergo a chemical reaction that results in a weak layer called ettringite. To avoid this problem, use an acrylic primer or SBR on the wall. Avoid using PVA, as it will not provide the necessary seal for the plaster.
Before tiling, you should leave freshly plastered walls for at least 14 days. Check for any loose materials, cracks, or hollows in the old plaster. If you find any, fill them with filler. Once the walls have dry, you are ready to proceed with tiling. But remember to do this only after the walls are completely dry and free from cracks or hollows.
Regardless of whether you’re tiling on concrete, drywall, or plywood, you should make sure the walls are sturdy enough to support the tiles. Before you install the wall tiles, test the plaster by gently prodding the surface. If it breaks or collapses, it’s probably too weak to support them. If the plaster is too weak, it will be brittle under the weight of the tiles.
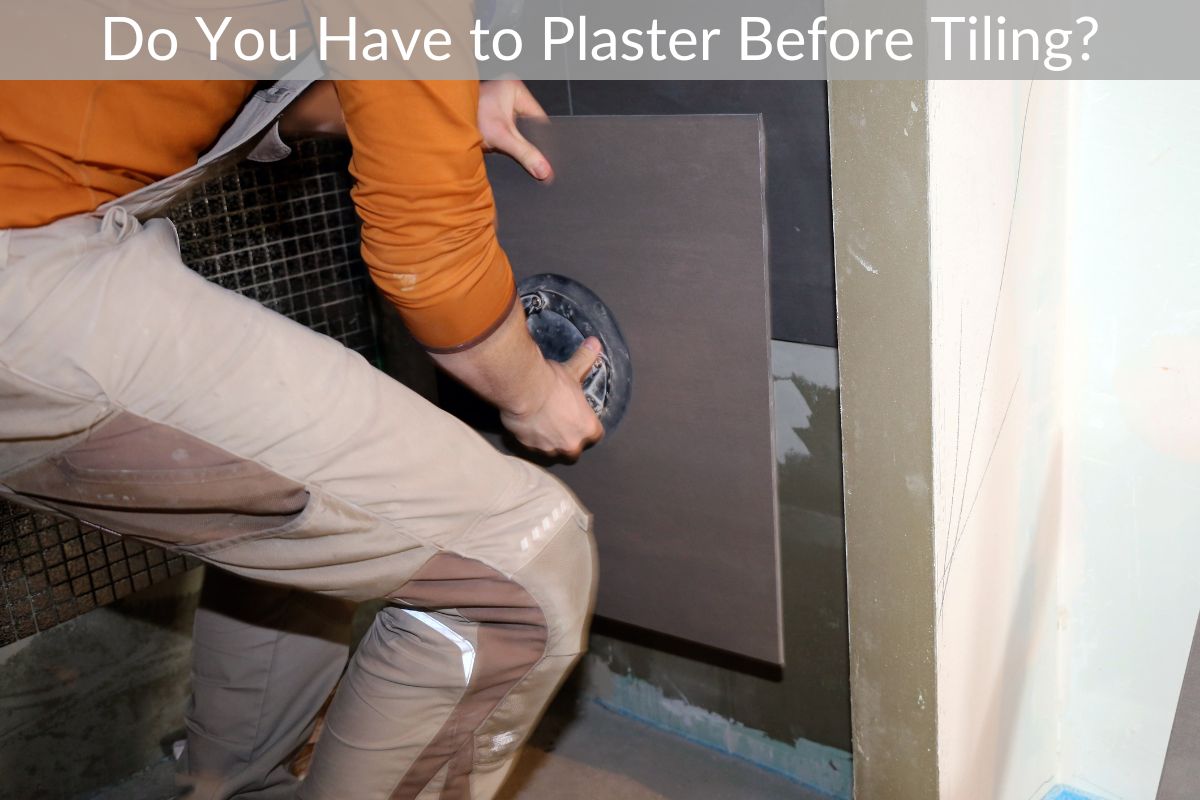
In addition to being firm and durable, your plaster surface must be able to support the weight of the tiles. Skim plaster should be primed with BAL primer to prevent moisture from being absorbed by the thin-set surface. If you must tile over plaster, remember to measure all the areas you want to tile. Make sure you have the correct size and bullnose tile options. A bullnose tile is rounded and shaped so it will cover the cement and wire mesh.
If you shouldn’t
If you’re tiling a wall, you may be wondering whether you should plaster first. Plastering walls before tiling ensures a smooth surface for tiles and a smooth edge for fitting them. Plastering over plasterboard, however, adds to the susceptibility of a room to fire. Here are some things to remember before plastering. Before you begin, make sure to plan your tiling pattern.
If you’re tiling a stud wall, you don’t need to plaster the walls first. The tile adhesive will fill in the joints between the plasterboard layers. If you’re tiling plasterboard, make sure you use a stiff bristle brush for sanding. Using a drywall blade will damage the plasterboard, so sanding it first is crucial.
While plastering isn’t the best choice for a ceiling, it isn’t impossible. You just need to make sure you follow a few guidelines. Make sure to wear gloves and safety goggles. It’s also a good idea to wear long sleeves and gloves. When removing the tiles, you should wear gloves and long sleeves. After that, you can start tiling.
Choosing a tile for a new surface
When installing a tile floor in your home, you’ll want to choose the appropriate size. There are some standard sizes for certain applications, but a tile’s size can also influence the look of the entire space. This can either enhance the look or detract from it. Here are some tips to help you choose the right size:
Size and shape are important considerations, but there’s more to selecting the right tile than just measuring the space. Next, consider what type of tile you want. For walls, you should choose cement tiles, which are among the most durable products on the market. Cement tiles are perfect for bathrooms and kitchens. They’re available in endless shades and patterns, and you can even design them to fit your personal taste.
Size, color, and rating are three important considerations when choosing a tile. Different kinds of tile are better for different projects. For example, the best tile for shower walls is not necessarily the best choice for bathroom floors and kitchen backsplashes. In addition, different types of tile are more resistant to water and stains than others. To choose the right tile for your home, you should consider how easy it is to clean, the type of flooring it will support, and the overall cohesiveness of the home.
Porcelain tiles are another good choice for floors. Porcelain tile is less porous than ceramic and is suited for outdoors. Porcelain tile is also a great choice if you are allergic to certain materials, such as wood or stone. Because it is water-resistant, porcelain is an excellent option for floors and walls. However, porcelain tile is heavier than other types of tile, so it is not recommended for second floor projects.
Preparation
Although the process of tiling walls is a simple one, it is essential to prepare the surfaces correctly. Proper preparation is essential to ensure the tiles will bond properly to the wall. This preparation can be as simple as vacuuming the surface to remove dust or as complex as physically grinding or blasting the surface. Before tiling, it is essential to clean the surface and let it dry. A thorough cleaning is the most effective way to ensure the quality of the finished tile.
The best way to ensure a professional finish is to prepare the wall surface properly. CTD Trade provides a large range of tiling preparation products, including tile backer boards, HardieBacker, Jackoboard, floor levelling compounds, primers, waterproofing systems, and uncoupling matting systems. In order to ensure the best adhesion between the wall surface and the adhesive, a thorough cleaning of the wall surface is essential.
After cleaning and preparing the floor surface, it’s time to apply grout, which is a mixture of cement and water. Using a high-quality grout will ensure a strong bond between the tiles and the floor. Once the gaps have been filled, a thorough cleaning is essential. To ensure the best adhesion, a primer can be applied before applying the tile. It also enhances the bond between the tiles and the floor.
Painted surfaces are not ideal for tiling, as paint prevents the adhesive from bonding with the tiles. Tiles installed directly over painted surfaces may cause the surface to raise and even fall over time. Therefore, painting surfaces must be prepared properly before tiling. Any peeling paint should be removed, as this will prevent the process from proceeding smoothly. Damaged paint should also be removed. It’s best to remove damaged paint from the surface before tiling, as it can be difficult to remove it.
Drying time
If you want to install tiling in a new space, you need to know how long fresh plaster will take to dry before you can start the job. Fresh plaster can take anywhere from 14 to 30 days to dry properly. This time can be extended for waterproofing purposes, but it is also necessary to prepare any uneven areas or patched areas. If you’re going to install a new floor tiling, make sure to allow this time to dry completely.
Plaster is most commonly used to create smooth wall surfaces and to receive decorative finishes. Tile backgrounds are typically gypsum building plasters, and should meet BS EN 13279-1 standards. If you plan to use a proprietary plaster, it is important to read the manufacturer’s instructions carefully. You will also need to apply tile adhesive, which can range from three to five kilograms/m2.
If you’re using adhesive to fix your new tiles, you should prepare your wall properly first. New plaster should be cured at least 4 weeks before tiling. Alternatively, you can use a ready-mixed adhesive. In case of an old plaster, it’s important to check for cracks or loose material. Repair any damaged areas with filler before continuing. After all, you’ll need to reapply the adhesive every few days.
Depending on how much you’re tiling, it can be tempting to try to tile straight into the plaster, but it’s best to let it dry for at least 14 days. This will make the surface firm enough to support the weight of the tiles, and you won’t have to worry about your walls cracking or crumbling! But be careful – if you’re planning to tile your room after plastering, make sure to wait the recommended time.